Continuing with my previous journey on: "How we could interface Blender with Arduino".
So, we kind of know that we can use OSC (Open Sound Controller) to talk
between machine or program, now we could apparently use SERIAL port as
well.
The Arduino that I am using is "Thinker1" from Powerhouse Museum, a prototype board for their ThinkSpace workshops. It has:
- 6 x LED (3 of them support PWM to fade)
- 1 x Potentiometer
- 1 x Button/Switch
- 1 x Light Sensor
You can use any Arduino, at least with LED, Potentiometer or Switch.
For example:
If your Arduino board have
Potentiometer (aka Knob) with 0-1023
INPUT value that is passed into Serial Port, you CAN create a setup that
allows you to control (change position, size, etc) of 3D Blender object
or BGE object using that Potentiometer.
At least, that's really the idea I want to try and implement. Not as easy as I thought.... (from a non-programmer perspective)
http://playground.arduino.cc/interfacing/python#.UyZ2zfmSx8F
However, we know and hope the answers are out there.
INSTALLING PYSERIAL FOR PYTHON 3.3 IN BLENDER:
This discussion below explains how you would install
PySerial library for Python 3.3 and how you can use it inside Blender:
http://www.blender.org/forum/viewtopic.php?t=26484&sid=f68deb37c9c37b4dd36db2a14b17e85f
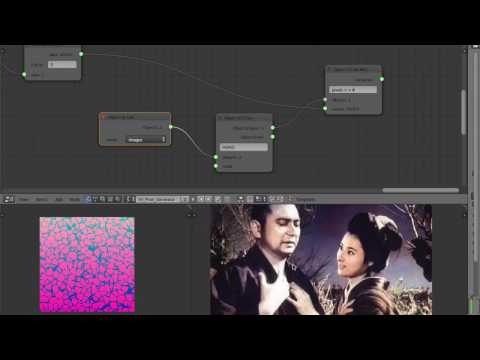
Especially this part: (screenshot)
There is probably a better way so that we could run the
setup.py of
PySerial from inside Blender Python console so that we get the "serial"
Library directly, instead of having to source from outside Python.
However, above steps should work.
NOTE:
Read also this nicely written article on how you can start and test the Arduino and ensure the PySerial is installed properly:
http://www.bashmodulo.com/tech/blender-serial-communication-with-arduino-via-pyserial/
There is a bug in installation, you probably need to install the Serial
from Python 2.7 and then convert the Serial folder for Python 3.
http://sourceforge.net/p/pyserial/bugs/161/
Both Mac and Windows has some hickup in installing the PySerial.
Once you have successfully installed the PySerial Library properly (for
Python 3.3), you will then have a folder inside your site-package folder
of your Python 3.3 Library, from which then you can copy paste into the
one inside Blender program.
Sounds like a long steps, however, I actually learned quite a lot from this study.
BGE TO READ SERIAL DATA FROM ARDUINO
Reading SERIAL data is apparently an interesting challenge in itself. SERIAL data is in BYTES.
I posted a question and luckily I have some help from Blender Artist forum.
Thanks to
Prof.Monster and
agoose77!
http://blenderartists.org/forum/showthread.php?330563-Python-BGE-Python-to-talk-to-Arduino&p=2600568&viewfull=1#post2600568
Now, if we want to read SERIAL values, we first need to setup our
Arduino (using Arduino program) to send some data into the board. We can
then check it using Arduino's own Serial Monitor.
EXAMPLE C CODE FOR ARDUINO:
// connecting the value of potentiometer to LED lights
int led1Pin = 8;
int led2Pin = 9;
int led3Pin = 10;
int led4Pin = 11;
int led5Pin = 12;
int led6Pin = 13;
int potPin = 5;
//int buzzerPin = 3;
int potValue = 0;
void setup()
{
pinMode(led1Pin, OUTPUT);
pinMode(led2Pin, OUTPUT);
pinMode(led3Pin, OUTPUT);
pinMode(led4Pin, OUTPUT);
pinMode(led5Pin, OUTPUT);
pinMode(led6Pin, OUTPUT);
pinMode(potPin, INPUT);
//pinMode(buzzerPin, OUTPUT);
// turn the serial port on
Serial.begin(9600);
}
void loop()
{
// get potentiometer value
potValue = analogRead(potPin);
//print the contents of the variable to the serial monitor
//Serial.println(potValue);
// remap the potValue for buzzer (if needed)
if (potValue < 1)
{
digitalWrite(led1Pin, LOW);
digitalWrite(led2Pin, LOW);
digitalWrite(led3Pin, LOW);
digitalWrite(led4Pin, LOW);
digitalWrite(led5Pin, LOW);
digitalWrite(led6Pin, LOW);
//tone(buzzerPin, 0, 50);
}
else if (potValue < 1024/6)
{
digitalWrite(led1Pin, HIGH);
digitalWrite(led2Pin, LOW);
digitalWrite(led3Pin, LOW);
digitalWrite(led4Pin, LOW);
digitalWrite(led5Pin, LOW);
digitalWrite(led6Pin, LOW);
//tone(buzzerPin, 261.63, 50);
}
else if (potValue < (1024/6)*2)
{
digitalWrite(led1Pin, HIGH);
digitalWrite(led2Pin, HIGH);
digitalWrite(led3Pin, LOW);
digitalWrite(led4Pin, LOW);
digitalWrite(led5Pin, LOW);
digitalWrite(led6Pin, LOW);
//tone(buzzerPin, 293.67, 50);
}
else if (potValue < (1024/6)*3)
{
digitalWrite(led1Pin, HIGH);
digitalWrite(led2Pin, HIGH);
digitalWrite(led3Pin, HIGH);
digitalWrite(led4Pin, LOW);
digitalWrite(led5Pin, LOW);
digitalWrite(led6Pin, LOW);
//tone(buzzerPin, 329.63, 50);
}
else if (potValue < (1024/6)*4)
{
digitalWrite(led1Pin, HIGH);
digitalWrite(led2Pin, HIGH);
digitalWrite(led3Pin, HIGH);
digitalWrite(led4Pin, HIGH);
digitalWrite(led5Pin, LOW);
digitalWrite(led6Pin, LOW);
//tone(buzzerPin, 349.23, 50);
}
else if (potValue < (1024/6)*5)
{
digitalWrite(led1Pin, HIGH);
digitalWrite(led2Pin, HIGH);
digitalWrite(led3Pin, HIGH);
digitalWrite(led4Pin, HIGH);
digitalWrite(led5Pin, HIGH);
digitalWrite(led6Pin, LOW);
//tone(buzzerPin, 392.0, 50);
}
else
{
digitalWrite(led1Pin, HIGH);
digitalWrite(led2Pin, HIGH);
digitalWrite(led3Pin, HIGH);
digitalWrite(led4Pin, HIGH);
digitalWrite(led5Pin, HIGH);
digitalWrite(led6Pin, HIGH);
//tone(buzzerPin, 440.0, 50);
}
int val = map(analogRead(potPin), 0, 1023, 0, 255);
Serial.println(val);
delay(25);
}
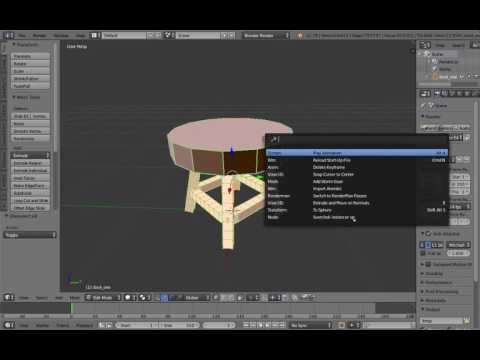
Before later we jump into Blender Game Engine and create the setup.
Below is the MODULE Python script that will read the data from SERIAL:
PS: I am using Windows here, so the SERIAL PORT is COM3, but on Mac it would be like TTY something.
EXAMPLE PYTHON CODE FOR BGE:
from bge import logic
from bge import events
import math
import serial
import struct
def convert(str):
try:
base = 10 # default
if ':' in str:
sstr = str.split(':')
base, str = int(sstr[0]), sstr[1]
val = int(str, base)
#lastvalue = val
except ValueError:
val = 0
return val
def update_arduino(arduino, obj):
try:
data = arduino.readline()
except Exception as err:
return
# Clean up data
data = data.decode('ascii').strip()
# All these below did not work :(
#newdata = data.splitlines()
#newdata = int.from_bytes(data, byteorder='big', signed=True)
#does not like INPUT, freeze BGE
#newdata = input(data)
# Finally... turn data into INTEGER!
data = int(convert(data))
print(data)
obj.worldScale = (data, data, data)
def main(cont):
own = cont.owner
try:
arduino = own['arduino']
except KeyError:
arduino = own['arduino'] = serial.Serial('COM3', 9600, timeout=0)
update_arduino(arduino, own)
Notice a few things:
1. We need to use the TIMEOUT and TIMER.
2. We need to convert the DATA from format that looks like this:
b'255'\n\r into a normal number that Blender Game Engine can read.
3. We also need to take consideration of BUFFER data.
4. SERIAL data can be read with readline() or read(1) --> these are all CHAR format.
Above will work up to certain extent.
You might want to do the other way around. Sending data from Blender
Game Engine, back into Arduino controller to control things such as LED
light.
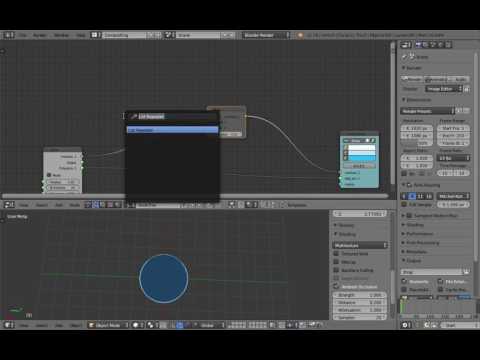
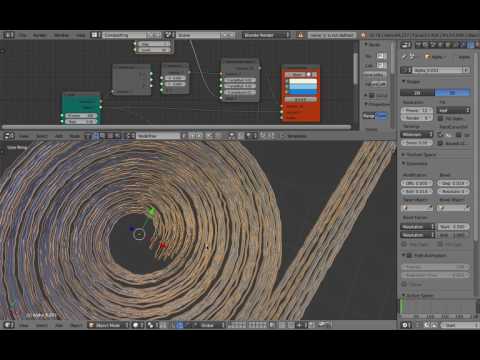
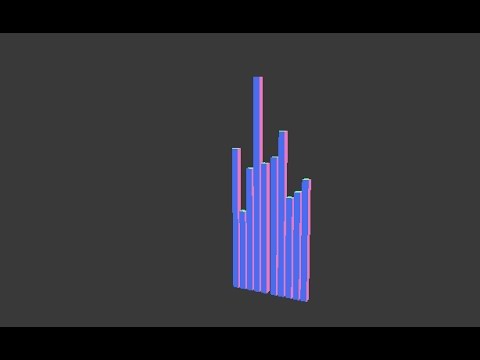
Below is the actual demo. There is that glitch shown here, but the
glitch disappear after I added "timeout" to the PySerial function, you
can trust me on that:
BGE TO WRITE SERIAL DATA FROM ARDUINO
 |
| This is from book titled "Programming Arduino: Next Steps" by Simon Monk. It mentions SENSOR and ACTUATOR. Just like inside BGE. |
Using above example, we basically have successfully able to tell BGE to READ the Serial stream of data/message from the Arduino.
Now, we want to do the opposite and to actually WRITE to the Arduino.
For a total beginner to Arduino or for someone interested to actually
learn Arduino, the steps are basically like this (my own understanding):
1. We hook up the Arduino via USB. It will power up the Arduino and it will run the "last program uploaded".
2. Using Arduino Program (similar to Processing), we can write our code
to be uploaded back into the Arduino as stand alone running hardware.
3. The Arduino talks and communicates in SERIAL data to INPUT or OUTPUT to the LED, beeper, potentiometer.
4. We can either READ or WRITE the SERIAL data from Arduino, which
basically like either LISTEN or TALK/SEND COMMAND to the Arduino.
In a diagram:
ARDUINO => BGE
Computer => Arduino => Potentiometer => Send Message =>
Serial
BGE => Listen to Message => Arduino =>
Serial => BGE moves object, etc.
BGE => ARDUINO
Computer => Arduino => Listen to Message =>
Serial
BGE => Send Message =>
Serial => Arduino => LED Blinks, beeps, etc.
We always begin by program the Arduino first to either tp WRITE (send) /
to READ (or listen). Once the Arduino program is running, we can then
use a different way to interface with the SERIAL of Arduino.
We can use Processing, Scratch, Python, and so on, but of course we are
using Blender Game Engine (BGE) and its real time Python capability.
Apparently to TALK to Arduino is quite simple, we simply just use the
Serial.write() function from PySerial, by doing that the BGE can control
the Arduino.
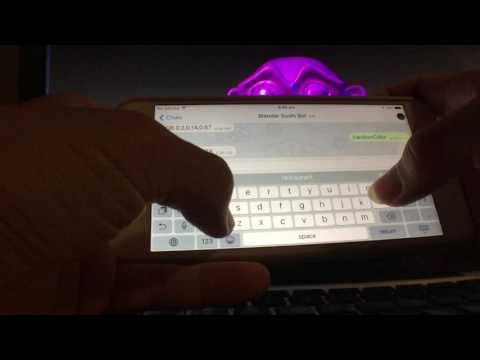
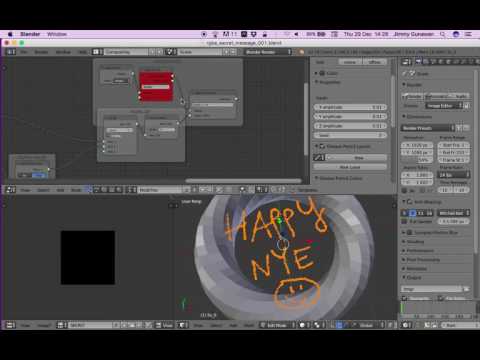
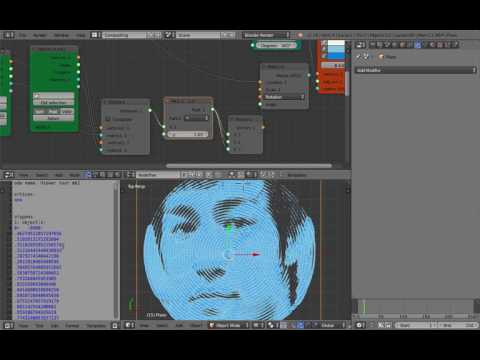
 |
| This is Arduino
program that listen and wait for a message and converting the message
into BLINK and BEEP that simulates the MORSE code. The example is from
book by Simon Monk. Here, on the left side is the SERIAL MONITOR that
comes with Arduino Program. We basically replace the SERIAL MONITOR with
BGE PYTHON to send the command. |
EXAMPLE PYTHON CODE FOR BGE:
from bge import logic
from bge import events
import math
import serial
### Below is other stuff related to Font Object
import bge
scene = bge.logic.getCurrentScene()
dynamicText = scene.objects['Text']
#print(dir(dynamicText))
def pressedEnter():
dynamicText.text = 'Arduino Go!'
dynamicText.color = [1,0,0,1]
dynamicText.size = 1
dynamicText.state = 2
dynamicText.visible = True
def update_arduino(arduino, obj):
try:
print("translating morse code... tap again")
arduino.write(b'sos')
except Exception as err:
return print("hey error man")
def main(cont):
# Get the cube controller
cont = logic.getCurrentController()
own = cont.owner
try:
arduino = own['arduino']
except KeyError:
arduino = own['arduino'] = serial.Serial('COM3', 9600, timeout = 0.1)
update_arduino(arduino, own)
STRING OF SERIAL DATA
From what I collect, it seems like Arduino will only either send and
receive a single string of data, like a single stream of water on a
pipe.
So we cannot really pipe in multiple streams of data (unlike OSC?).
However, we can "label" things that come into the stream, read the type
and design a system that reads that single string that filter it out to
control multiple objects. With that we can simulate parallel actions.
Just like stream of sushi and sashimi on a "sushi train". You can spot
"the price" by plate color, or you can filter out by the look of it,
what type of sushi or sashimi coming, then trigger something.
Thanks to James Oliver for this information.
ARDUINO VS RASPBERRY PI
If you have question like the heading above, the video below will answer
your question about the differences between Arduino and Raspberry Pi:
https://www.youtube.com/watch?v=7vhvnaWUZjE
RasPi is basically just like a computer with Linux OS, but it is
very cheap and small, limited in power, but still powerful as it is. The
current generation of RasPi cannot run Blender, well it can but not at a
decent level. The normal computers people using to run Blender is
basically can be 400 times more powerful and faster. RasPi comes with
Python and programming app like Scratch.
Arduino is simpler than RasPi, it is also small, but can be used
for a stand-alone Microcontroller. To program the Arduino board, we use
Arduino programming that is based on Processing, which is actually a C
programming. Arduino board can have "Shields" attached to it to extend
its capability.
You can use RasPi to program the Arduino.
CONCLUSION
These are all are pretty BASIC experiment in Arduino and Blender Game
Engine, but something that I recommend you to try if you have access to
such resources. It teaches you how to interface with Physical
Microcontroller.
Not that different to how we can easily plug keyboard, mouse, joystick
and other game controllers to control the video game consoles or things
on computer.
However, learning and understanding Arduino and BGE will take you a lot
further. You can control the LED lights to blink, you can control
physical MOTOR, and so on.
We certainly need some of prerequisites here:
- Understand the Blender Game Engine (BGE) basics
- Understand a bit of Python
- Basic knowledge of Arduino and programming the Arduino
If all sounds scary, don't be scared, it is all actually very simple. It
is going to worth it to learn programming and computational thinking.
I always thought that young kids and University students that actually
have access and resources to powerful computer and Arduino are quite
lucky.
We are all pretty lucky to have a computer, Internet and BLENDER.
Nothing can stop you from actually invest your time on Arduino (it is
very cheap) and learn programming the right and fun way.
Even at the very basic level, you can already create an APPLICATION
using BGE that can control the Arduino. How powerful is that? You will
know it when you give it a try.
NI MATE
Next, I want to try the Kinect and OSC Controller:
LINKS
BOOKS
- Programming Arduino: Getting Started With Sketches by Simon Monk
- Programming Arduino: Next Steps by Simon Monk
WORKSHOP (find your own local Arduino workshop)


Add a comment