Nodemcu firebase database Tutorial
(Last Updated On: October 26, 2019)


Description:
Nodemcu firebase- In This tutorial, you will learn how to create your firebase account and create your first project to monitor a sensor in real-time from anywhere around the world. As this is a getting started tutorial on how to use the firebase with Nodemcu esp8266 wifi module, that’s why I decided to use a variable resistor as the sensor to keep things simple, while in my upcoming tutorials I will use the firebase in some intermediate and advanced level projects.
For the detailed step by step explanation watch video Tutorial “Click Here”
The components and tools used in this project can be purchased from Amazon, the components Purchase links are given below:
Arduino Uno: https://amzn.to/2tVz1vu
Mega 2560: https://amzn.to/2ze1kdu
Variable resistor or Potentiometer: https://amzn.to/2ElRjeZ
Nodemcu esp8266 wifi module: Best price: https://amzn.to/2NAvmiB
12v 10A SPDT relay: https://amzn.to/2MThQBK
2n2222 NPN transistors: https://amzn.to/2EmXsIb
10k Resistor: https://amzn.to/2KTd6OW
lm7805 Voltage Regulator: https://amzn.to/2IZEl5x
330-ohm resistors pack: https://amzn.to/2NtlAeh
female DC power jack socket: https://amzn.to/2KEo1gt
470 UF capacitors: https://amzn.to/2xDCOzf
5×7 cm Vero board: https://amzn.to/2OHGbvn
female headers: https://amzn.to/2zqmtiJ
connection wires: https://amzn.to/2DpBuW7
Super Starter kit for Beginners: https://amzn.to/2KJvmKG
Jumper Wires: https://amzn.to/2KMoVXs
Bread Board: https://amzn.to/2MS4q8X
12v Adaptor: https://amzn.to/2Ntr6h1
PCB plate: https://amzn.to/2IUwpCt
Variable Supply: https://amzn.to/2MT4Qfj
Digital Multimeter: https://amzn.to/2Nvft9i
Vero Board / stripboard: https://amzn.to/2MTf9jD
Soldering iron kit: “best” You guys should definitely purchase this: https://amzn.to/2zfoNuJ
Solder wire: https://amzn.to/2ufUMWf
Wire Stripper: https://amzn.to/2KOqxfU
wirecutter: https://amzn.to/2ucIq14
PCB small portable drill machine: https://amzn.to/2Nu62XF
*Please Note: These are affiliate links. I may make a commission if you buy the components through these links. I would appreciate your support in this way!
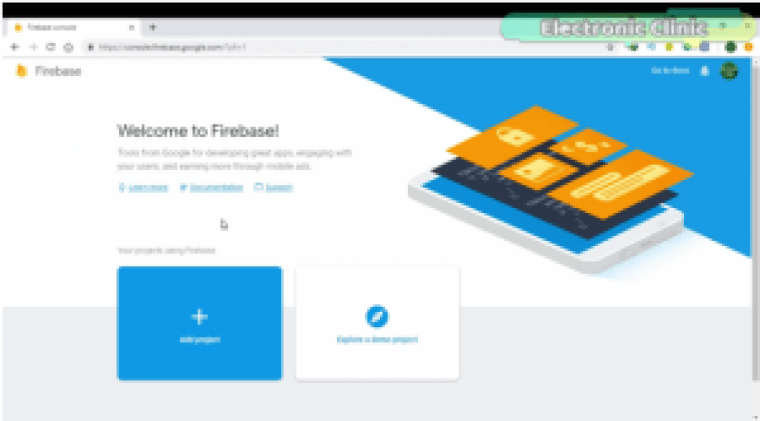
Nodemcu Firebase Setup:
Open your internet browser and go to console.firebase.google.com,
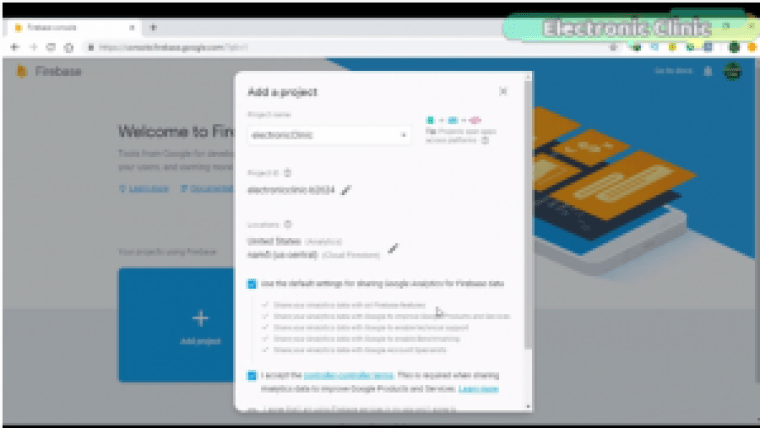
Click on the add project.
Write the project name
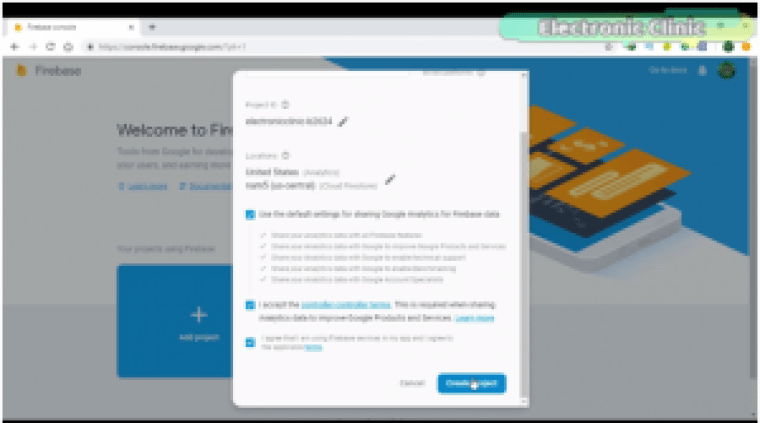
check all the boxes and then click on the create project.
Click continue.
if you click on the develop you can see
Authentication
Database
Storage
Hosting
Functions and
ML kit
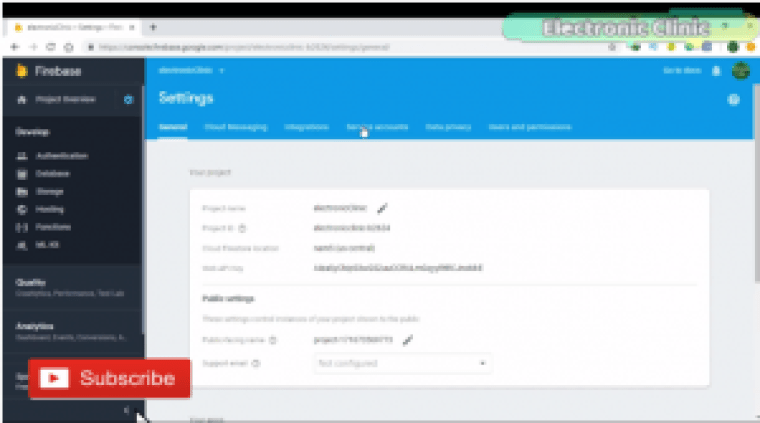
First, let’s start with the project settings…
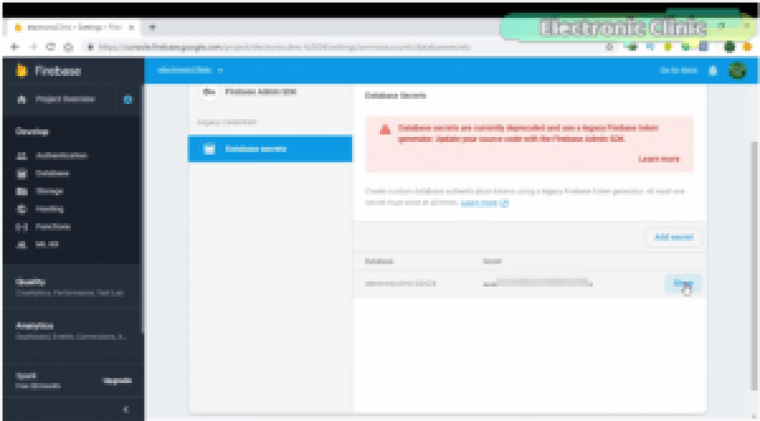
click on the service accounts…
click on the database secrets…
click show and copy ….
then open the program and paste this in the firebase authentication…
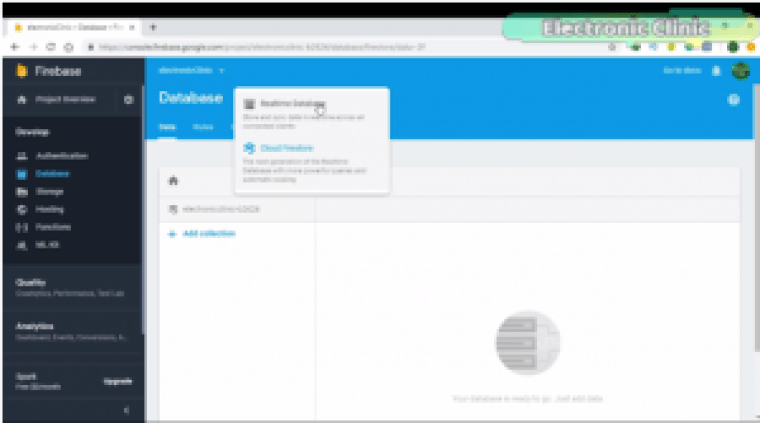
now for the firebase host…click on the database…
select realtime database…
copy this link and paste it in the programming…
now our settings are completed, now we can click on the verify button to compile our program and check for any errors.
Now let’s discuss the Circuit diagram…
Circuit Diagram:
The circuit diagram as you can see is really easy. Connect the rightmost and leftmost legs of the variable resistor with the Nodemcu esp8266 wifi module 3.3v and GND. Connect the middle leg of the variable resistor with the A0 pin of the Nodemcu.
Programming:
Arduino Jason:
FirebaseArduino library:
Fantasy world777 cricket is extremely popular among fans and aficionados because it allows them to put their cricket expertise to the test. In addition, the popularity of fantasy cricket tournaments has resulted in the invention of new ways for users to make money.
ResponderEliminarGreat Article, it is really informative and innovative. new month declaration
ResponderEliminar