http://www.tecmint.com/apache-ip-based-and-name-based-virtual-hosting/
s we all are aware that Apache is a very powerful, highly flexible and configurable Web server for Nix OS. Here in this tutorial, we are going to discuss one more feature of Apache which allows us to host more than one website on a single Linux machine. Implementing virtual hosting with Apache web server can help you to save costs you are investing on your server maintenance and their administration.

Apache Virtual Hosting in Linux
Types of Virtual Host
There are two types of virtual hosting is available with Apache.Name Based Virtual Hosting
With the name based virtual hosting you can host several domains/websites on a single machine with a single IP. All domains on that server will be sharing a single IP. It’s easier to configure than IP based virtual hosting, you only need to configure DNS of the domain to map it with its correct IP address and then configure Apache to recognize it with the domain names.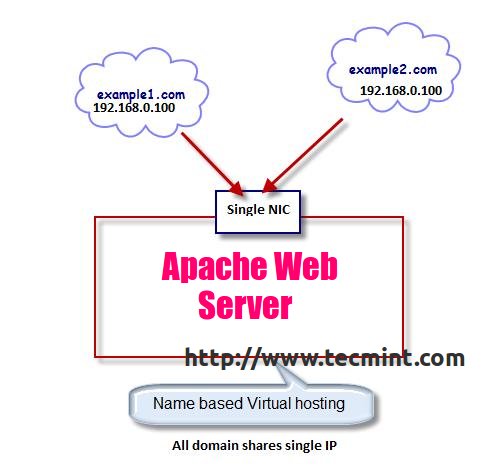
Name Based Virtual Hosting
IP Based Virtual Hosting
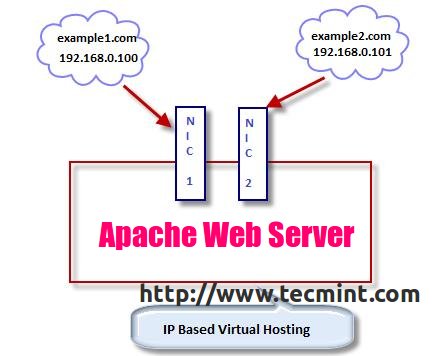
IP Based Virtual Hosting
Testing Environment
- OS – CentOS 6.5
- Application – Apache Web Server
- IP Address – 192.168.0.100
- IP Address – 192.168.0.101
- Domain – www.example1.com
- Domain – www.example2.com
How to Setup IP Based and Name Based Apache Virtual Hosts
Before setting up virtual hosting with Apache, your system must have Apache Web software installed. if not, install it using default package installer called yum.[root@tecmint ~]# yum install httpd
Setup Name Based Virtual Host
But, before creating a virtual host, you need to create a directory where you will keep all your website’s files. So, create directories for these two virtual hosts under /var/www/html folder. Please remember /var/www/html will be your default Document Root in the Apache virtual configuration.[root@tecmint ~]# mkdir /var/www/html/example1.com/ [root@tecmint ~]# mkdir /var/www/html/example2.com/To set up Name based virtual hosting you must need to tell Apache to which IP you will be using to receive the Apache requests for all the websites or domain names. We can do this with NameVirtualHost directive. Open Apache main configuration file with VI editor.
[root@tecmint ~]# vi /etc/httpd/conf/httpd.confSearch for NameVirtualHost and uncomment this line by removing the # sign in front of it.
NameVirtualHostNext add the IP with possible in which you want to receive Apache requests. After the changes, your file should look like this:
NameVirtualHost 192.168.0.100:80Now, it’s time to setup Virtual host sections for your domains, move to the bottom of the file by pressing Shift + G. Here in this example, We are setting up virtual host sections for two domains
- www.example1.com
- www.example2.com
<VirtualHost 192.168.0.100:80>
    ServerAdmin webmaster@example1.com
    DocumentRoot /var/www/html/example1.com
    ServerName www.example1.com
ErrorLog logs/www.example1.com-error_log
CustomLog logs/www.example1.com-access_log common
</VirtualHost>

<VirtualHost *:80>
    ServerAdmin webmaster@example2.com
    DocumentRoot /var/www/html/example2.com
    ServerName www.example2.com
ErrorLog logs/www.example2.com-error_log
CustomLog logs/www.example2.com-access_log common
</VirtualHost>
You are free to add as many directives you want to add in your domains virtual host section. When you are done with changes in httpd.conf file, please check the syntax of files with following command.[root@tecmint ~]# httpd -t Syntax OKIt is recommended to check the syntax of the file after making some changes and before restarting the Web server because if any syntax goes wrong Apache will refuse to work with some errors and eventually affect your existing web server go down for a while. If syntax is OK. Please restart your Web server and add it to chkconfig to make your web server start in runlevel 3 and 5 at the boot time only.
[root@tecmint ~]# service httpd restart
Stopping httpd:                                            [  OK  ]
Starting httpd:                                            [  OK  ]
[root@tecmint ~]# chkconfig --level 35 httpd onNow it’s time to create a test page called index.html add some content to the file so we will have something to check it, when the IP calls the virtual host.
[root@tecmint ~]# vi /var/www/html/example1.com/index.html
<html>
  <head>
    <title>www.example1.com</title>
  </head>
  <body>
    <h1>Hello, Welcome to www.example1.com.</h1>
  </body>
</html>
[root@tecmint ~]# vi /var/www/html/example2.com/index.html
<html>
  <head>
    <title>www.example2.com</title>
  </head>
  <body>
    <h1>Hello, Welcome to www.example2.com.</h1>
  </body>
</html>
Once you’re done with it, you can test the setup by accessing both the domains in a browser.http://www.example1.com http://www.example2.com
Preview: www.example1.com
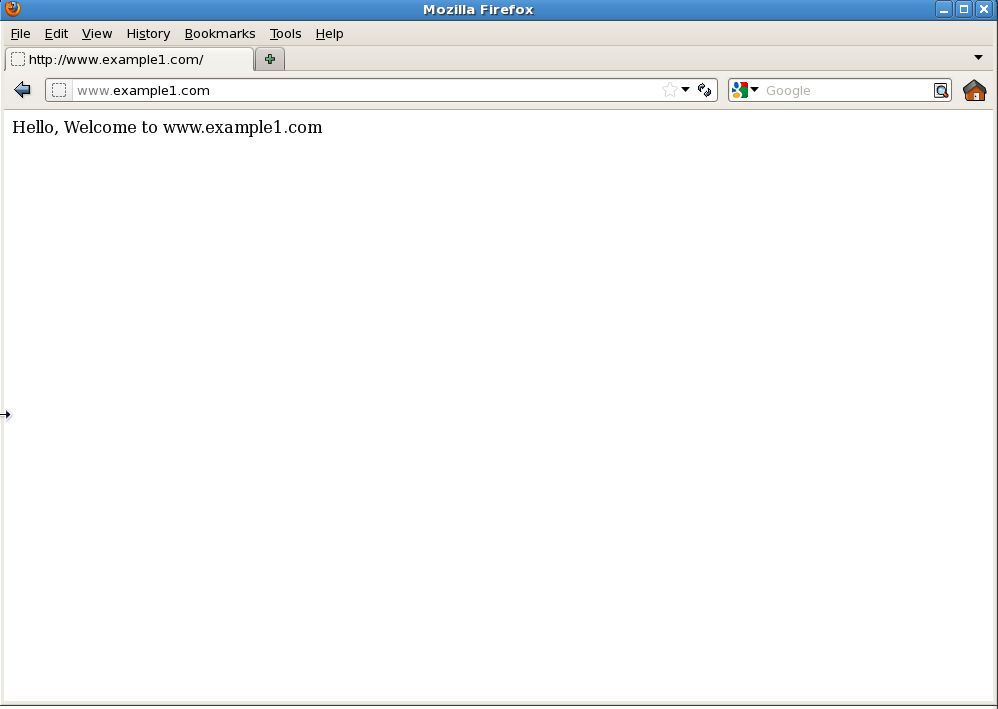
Virtual Hosting: www.example1.com
Preview: www.example2.com
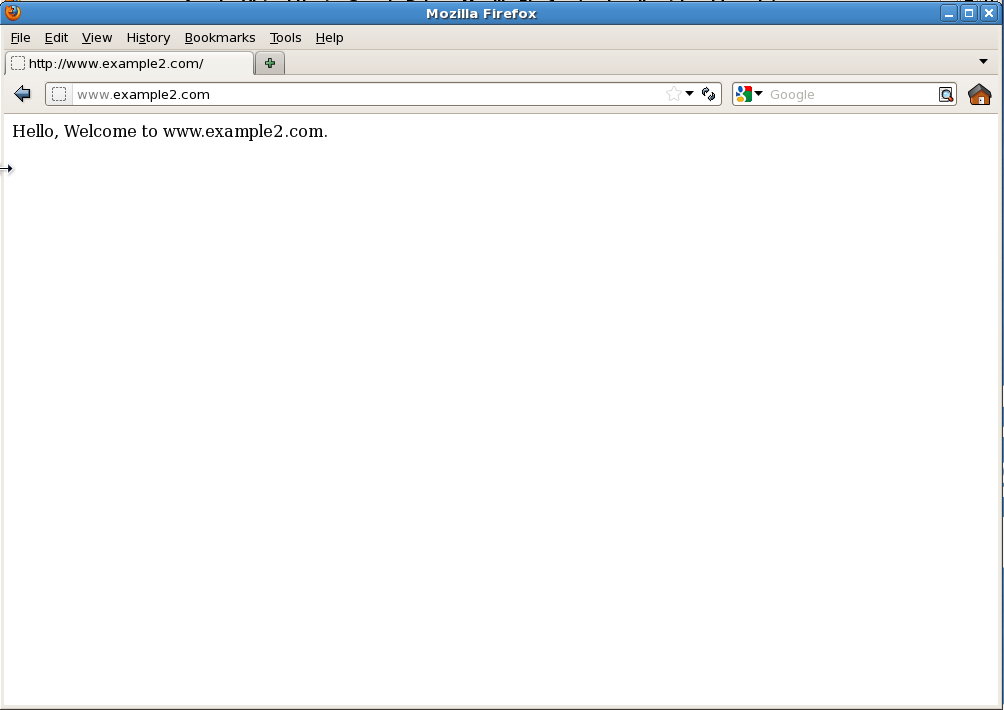
Virtual Hosting: www.example2.com
Setup IP Based Virtual Hosting Linux
To setup IP based virtual hosting, you must have more than one IP address/Port assigned to your server or your Linux machine.It can be on a single NIC card , For example: eth0:1, eth0:2, eth0:3 … so forth. Multiple NIC cards can also be attached. If you don’t know how to create multiple IP’s on single NIC, follow the below guide, that will help you out in creating.
Purpose of implementing IP based virtual hosting is to assign implementing for each domain and that particular IP will not be used by any other domain.
This kind of set up required when a website is running with SSL certificate (mod_ssl) or on different ports and IPs. And You can also run multiple instances of Apache on a single machine. To check the IPs attached in your server, please check it using ifconfig command.
root@tecmint ~]# ifconfig
Sample Output
eth0 Link encap:Ethernet HWaddr 08:00:27:4C:EB:CE
inet addr:192.168.0.100 Bcast:192.168.0.255 Mask:255.255.255.0
inet6 addr: fe80::a00:27ff:fe4c:ebce/64 Scope:Link
UP BROADCAST RUNNING MULTICAST MTU:1500 Metric:1
RX packets:17550 errors:0 dropped:0 overruns:0 frame:0
TX packets:15120 errors:0 dropped:0 overruns:0 carrier:0
collisions:0 txqueuelen:1000
RX bytes:16565983 (15.7 MiB) TX bytes:2409604 (2.2 MiB)
eth0:1 Link encap:Ethernet HWaddr 08:00:27:4C:EB:CE
inet addr:192.168.0.101 Bcast:192.168.0.255 Mask:255.255.255.0
UP BROADCAST RUNNING MULTICAST MTU:1500 Metric:1
lo Link encap:Local Loopback
inet addr:127.0.0.1 Mask:255.0.0.0
inet6 addr: ::1/128 Scope:Host
UP LOOPBACK RUNNING MTU:16436 Metric:1
RX packets:1775 errors:0 dropped:0 overruns:0 frame:0
TX packets:1775 errors:0 dropped:0 overruns:0 carrier:0
collisions:0 txqueuelen:0
RX bytes:3416104 (3.2 MiB) TX bytes:3416104 (3.2 MiB)
As you can see in above output, two IPs 192.168.0.100 (eth0) and 192.168.0.101 (eth0:1) is attached to the server, both IPs are assigned to the same physical network device (eth0).Now, assign a specific IP/Port to receive http requests, you can simply do it by changing Listen directive in httpd.conf file.
[root@tecmint ~]# vi /etc/httpd/conf/httpd.confSearch for word “Listen”, You find a section where the short description about Listen directive is written. In that section, comment the original line and write your own directive below that line.
# Listen 80 Listen 192.168.0.100:80Now, create a Virtual host sections for both the domains. Go the bottom of the file and add the following virtual directives.
VirtualHost 192.168.0.100:80>
ServerAdmin webmaster@example1.com
DocumentRoot /var/www/html/example1
ServerName www.example1.com
ErrorLog logs/www.example1.com-error_log
TransferLog logs/www.example1.com-access_log
</VirtualHost>
<VirtualHost 192.168.0.101:80>
ServerAdmin webmaster@example2.com
DocumentRoot /var/www/html/example2
ServerName www.example2.com
ErrorLog logs/www.example2.com-error_log
TransferLog logs/www.example2.com-access_log
</VirtualHost>
Now, since you have modified main Apache conf file, you need to restart the http service like below.[root@tecmint ~]# service httpd restart Stopping httpd: [ OK ] Starting httpd: [ OK ]Test your IP based Virtual hosting setup by accessing the URLs on web browser as shown below.
http://www.example1.com http://www.example2.comThat’s all with Apache virtual host today, If you’re looking to secure and harden your Apache configuration, then read our article that guides.
No hay comentarios:
Publicar un comentario